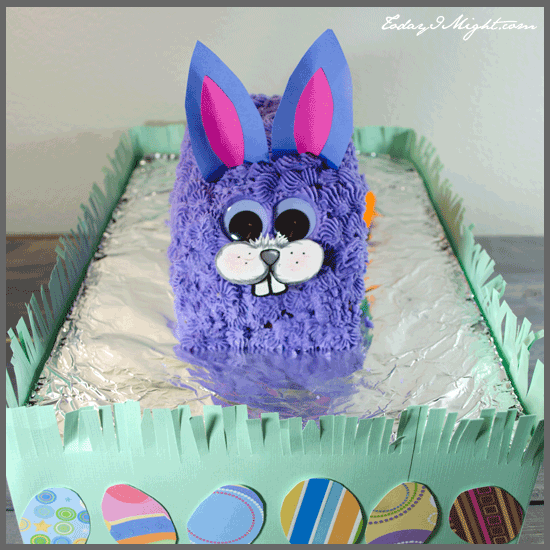
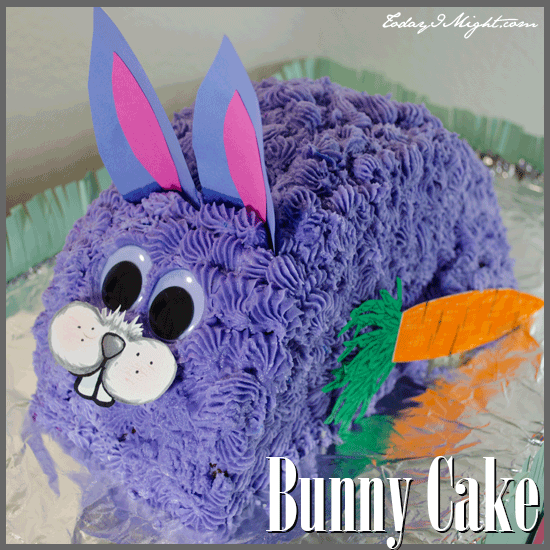
Ok, ok. So file this under things I should have brought to your attention yesterday – but this bunny cake is just as fun for a child’s birthday as it is for Easter. I made this one for the kiddos that would be at our family Easter celebration and thought I would share a how-to. You can always bookmark this for next Easter – which, by the way is April 16th, 2017.
Start by preparing your favorite boxed cake in two lightly greased 9 or 8 inch round pans. Once baked allow to cool completely. Once the cakes have cooled, make the cakes level by cutting off the rounded tops. Set aside the scraps for the cake construction. Then, slice each round cake down the middle. You should have four even semi-circlular pieces of cake.
Next, you’ll need a surface to prepare the bunny cake on. You have a couple of options here. You can either prepare the cake on a platter if you have one of suitable size – or line a piece of cardboard with tin foil as your base.
Buttercream Icing Recipe
- 6 cups confectioner's sugar
- ⅔ cups softened salted butter
- 3 teaspoons vanilla extract
- 2-3 tablespoons milk
- In a large bowl combine all of the ingredients.
- Beat the ingredients with a mixer on medium-speed until well-combined and smooth.
- To color, add a couple of drops of food coloring and beat until shade consistent throughout.
Constructing the Bunny Cake
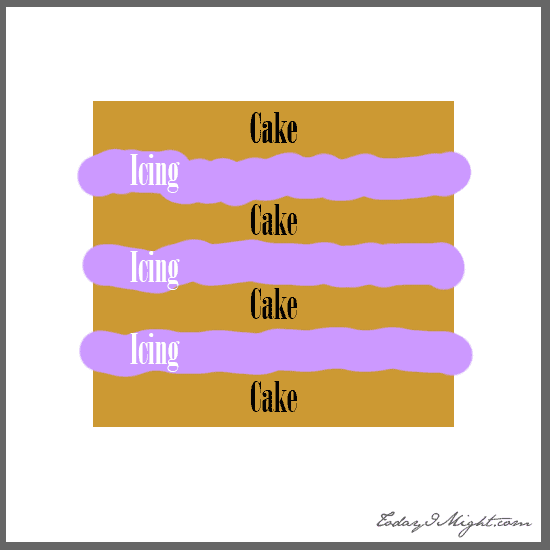
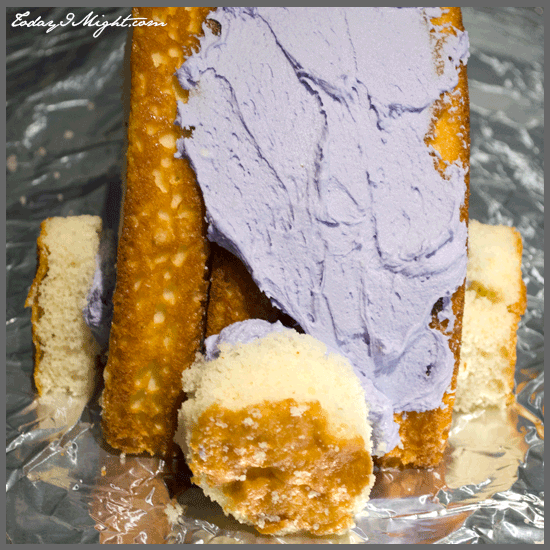
At this stage, you’re ready to begin cake construction. Start by spreading a little bit of icing to the plate or board you are going to build your bunny cake on. Next, hold a piece of cake in your hand, cut side up, and spread a layer of icing on. Layer the next piece of cake on top of the icing like a sandwich then frost the top of that piece. Once you get to the last piece of cake, place it cut side down. Only the inside layers should be frosted, per the picture below.
Place the half moon shaped cake onto platter which was pre-buttered with a little icing to hold it in place. For extra support you can then apply a layer of icing over the top of the cake.
From there, cut two small half-moon shaped pieces and one small circle from the cake scraps. Glue the circle to the rear of the cake with icing for a tail, and the other two pieces to the sides of the cake for hind-quarters.
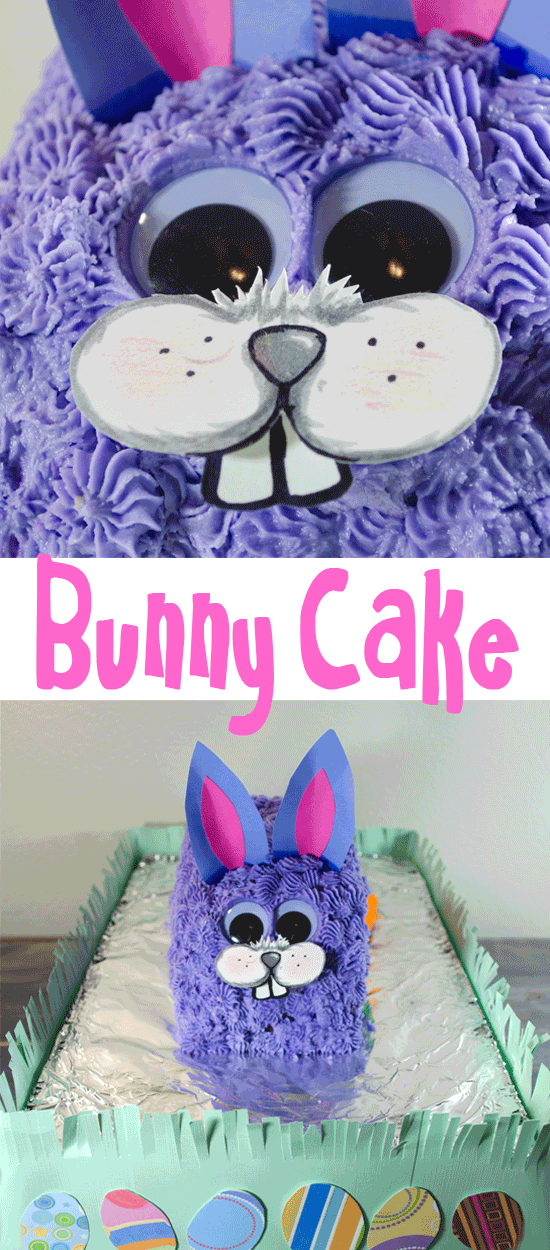
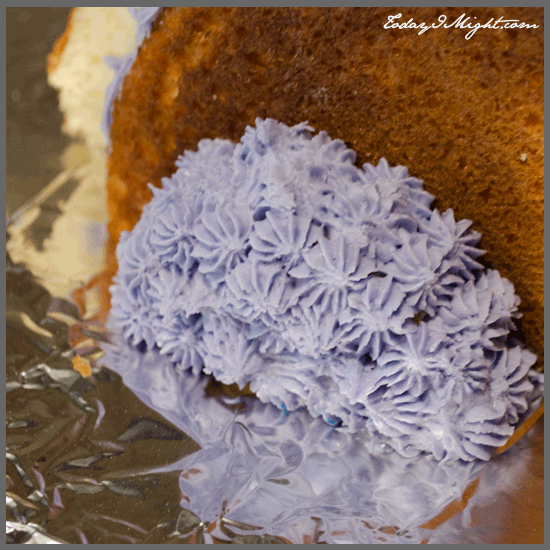
Ok, now for the less than fun part… Time to make the bunny furry. You can use a grass/fur Wilton tip such as #233. However, I find it faster and just as aesthetically pleasing to use a large open star tip like #32. Place your tip in the pastry bag and load it up with icing. I tend to do the legs and tail first, then cover the rest of the body from the bottom up. If using the buttercream icing recipe above, it should stiffen up quickly and keep it’s form nicely.
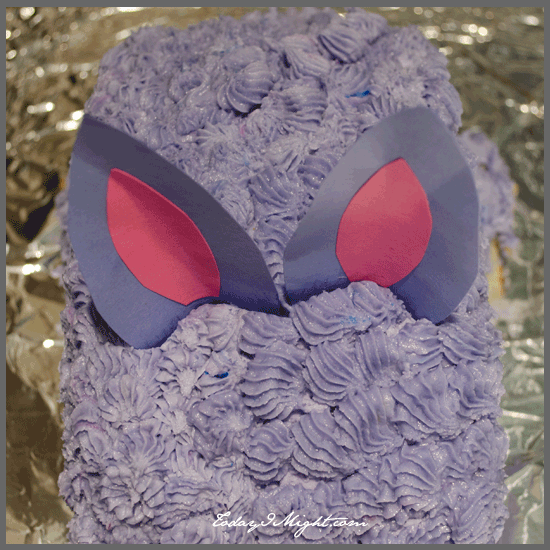
Once your cake is fully covered with icing, you’re ready to put the finishing touches to make your bunny cake really cute and unique to you! Cut some ears out of colored stock paper and insert on the top front of the cake. Insert the ears at the last minute because otherwise the butter in the icing will seep up through the paper over time.
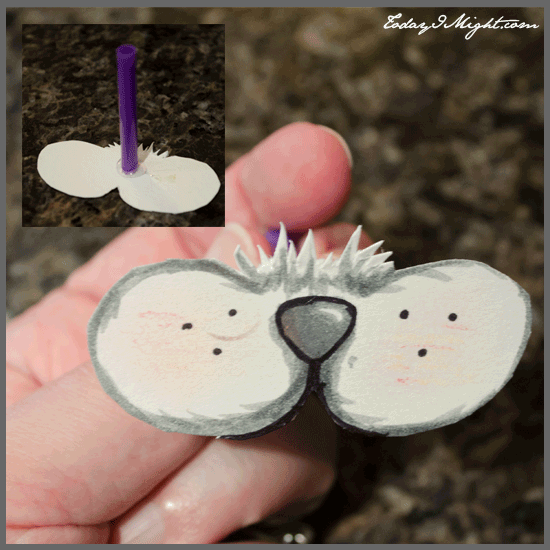
For eyes, you have a couple of options. A large pair of googly eyes works a treat. Otherwise, you can use some pre-made royal icing eyes or some fashioned out of paper. Then, for the mouth, I like to draw something on card stock, cut it out, then glue a straw to the back so you can affix it into the cake. Optionally, you can add some buck teeth to your bunny to add some character.
So, now your bunny cake is looking adorable and ready to be devoured by some kiddos. You can take things further by adding additional embellishments to the bunny itself or the cake base – such as grass, easter eggs, carrots, etc. Have fun!
